Most people who've done a blind whiskey tasting say the same thing afterward: they had no idea what they actually liked. The bottle they always reach for came in third. The one they'd never have bought blind? That was the one they kept thinking about the next morning.
That's what a blind tasting actually does. It strips away price anchoring, label loyalty, and brand reputation — the invisible forces that shape every pour you've ever had — and forces an honest answer to a simple question: what does this actually taste like to you?
Running one at home is easier than most guides make it sound. You need three to six bottles, a neutral vessel to conceal them, a scoring sheet, and about ninety minutes. This guide gives you all of it.
A blind whiskey tasting at home requires 3–6 bottles, a neutral serving vessel (a lead-free decanter works perfectly), basic tasting sheets, and a poured sample of around 1 oz per whiskey per person. Cover or remove all labelling, evaluate each sample by nose, palate, and finish, score them, then reveal. Most hosts run the whole event in 60–90 minutes.
What Do You Need for a Blind Whiskey Tasting at Home?
You need less than you think, and one item that most guides miss entirely.
The essentials are: three to six whiskey bottles (more than six overwhelms palate fatigue); a neutral serving vessel to conceal each bottle's identity; a tasting sheet for each guest; a pencil (not a pen — you'll want to change your mind); water and plain crackers for palate resets between pours; and glasses. One glass per person per whiskey is ideal, though rotating a single Glencairn-style glass with a water rinse between samples works fine for a casual night.
The item most guides skip is the neutral vessel. If guests can see the bottle — even out of the corner of their eye — they're not doing a blind tasting. They're doing a tasting with plausible deniability. The entire point is that the visual identity of the whiskey disappears. Research into consumer taste psychology confirms that presentation dramatically shapes perceived quality: in repeated trials, drinkers rate identical spirits differently based solely on what they're told about price and brand. A decanter eliminates that variable. Pour each whiskey into a separate lead-free decanter or sealed carafe before guests arrive, label each vessel with a number only (not the whiskey name), and the tasting is genuinely blind.
Three bottles is the right number for a first attempt. It's manageable, comparisons stay sharp, and the reveal moment lands cleanly. Five is the sweet spot for a dedicated whiskey night. Beyond six, palate fatigue starts affecting scores in ways that obscure genuine preferences.
How to Set Up Your Blind Tasting in Four Steps?
Step 1: Choose your flight. Pick whiskeys with meaningful variety. A useful beginner flight compares style rather than price: one American bourbon, one Scotch single malt, one Irish or rye. A more advanced version compares bottles within the same category at different price points — this is where blind tastings produce their most interesting results, and where the "$30 vs $300" question gets its honest answer.

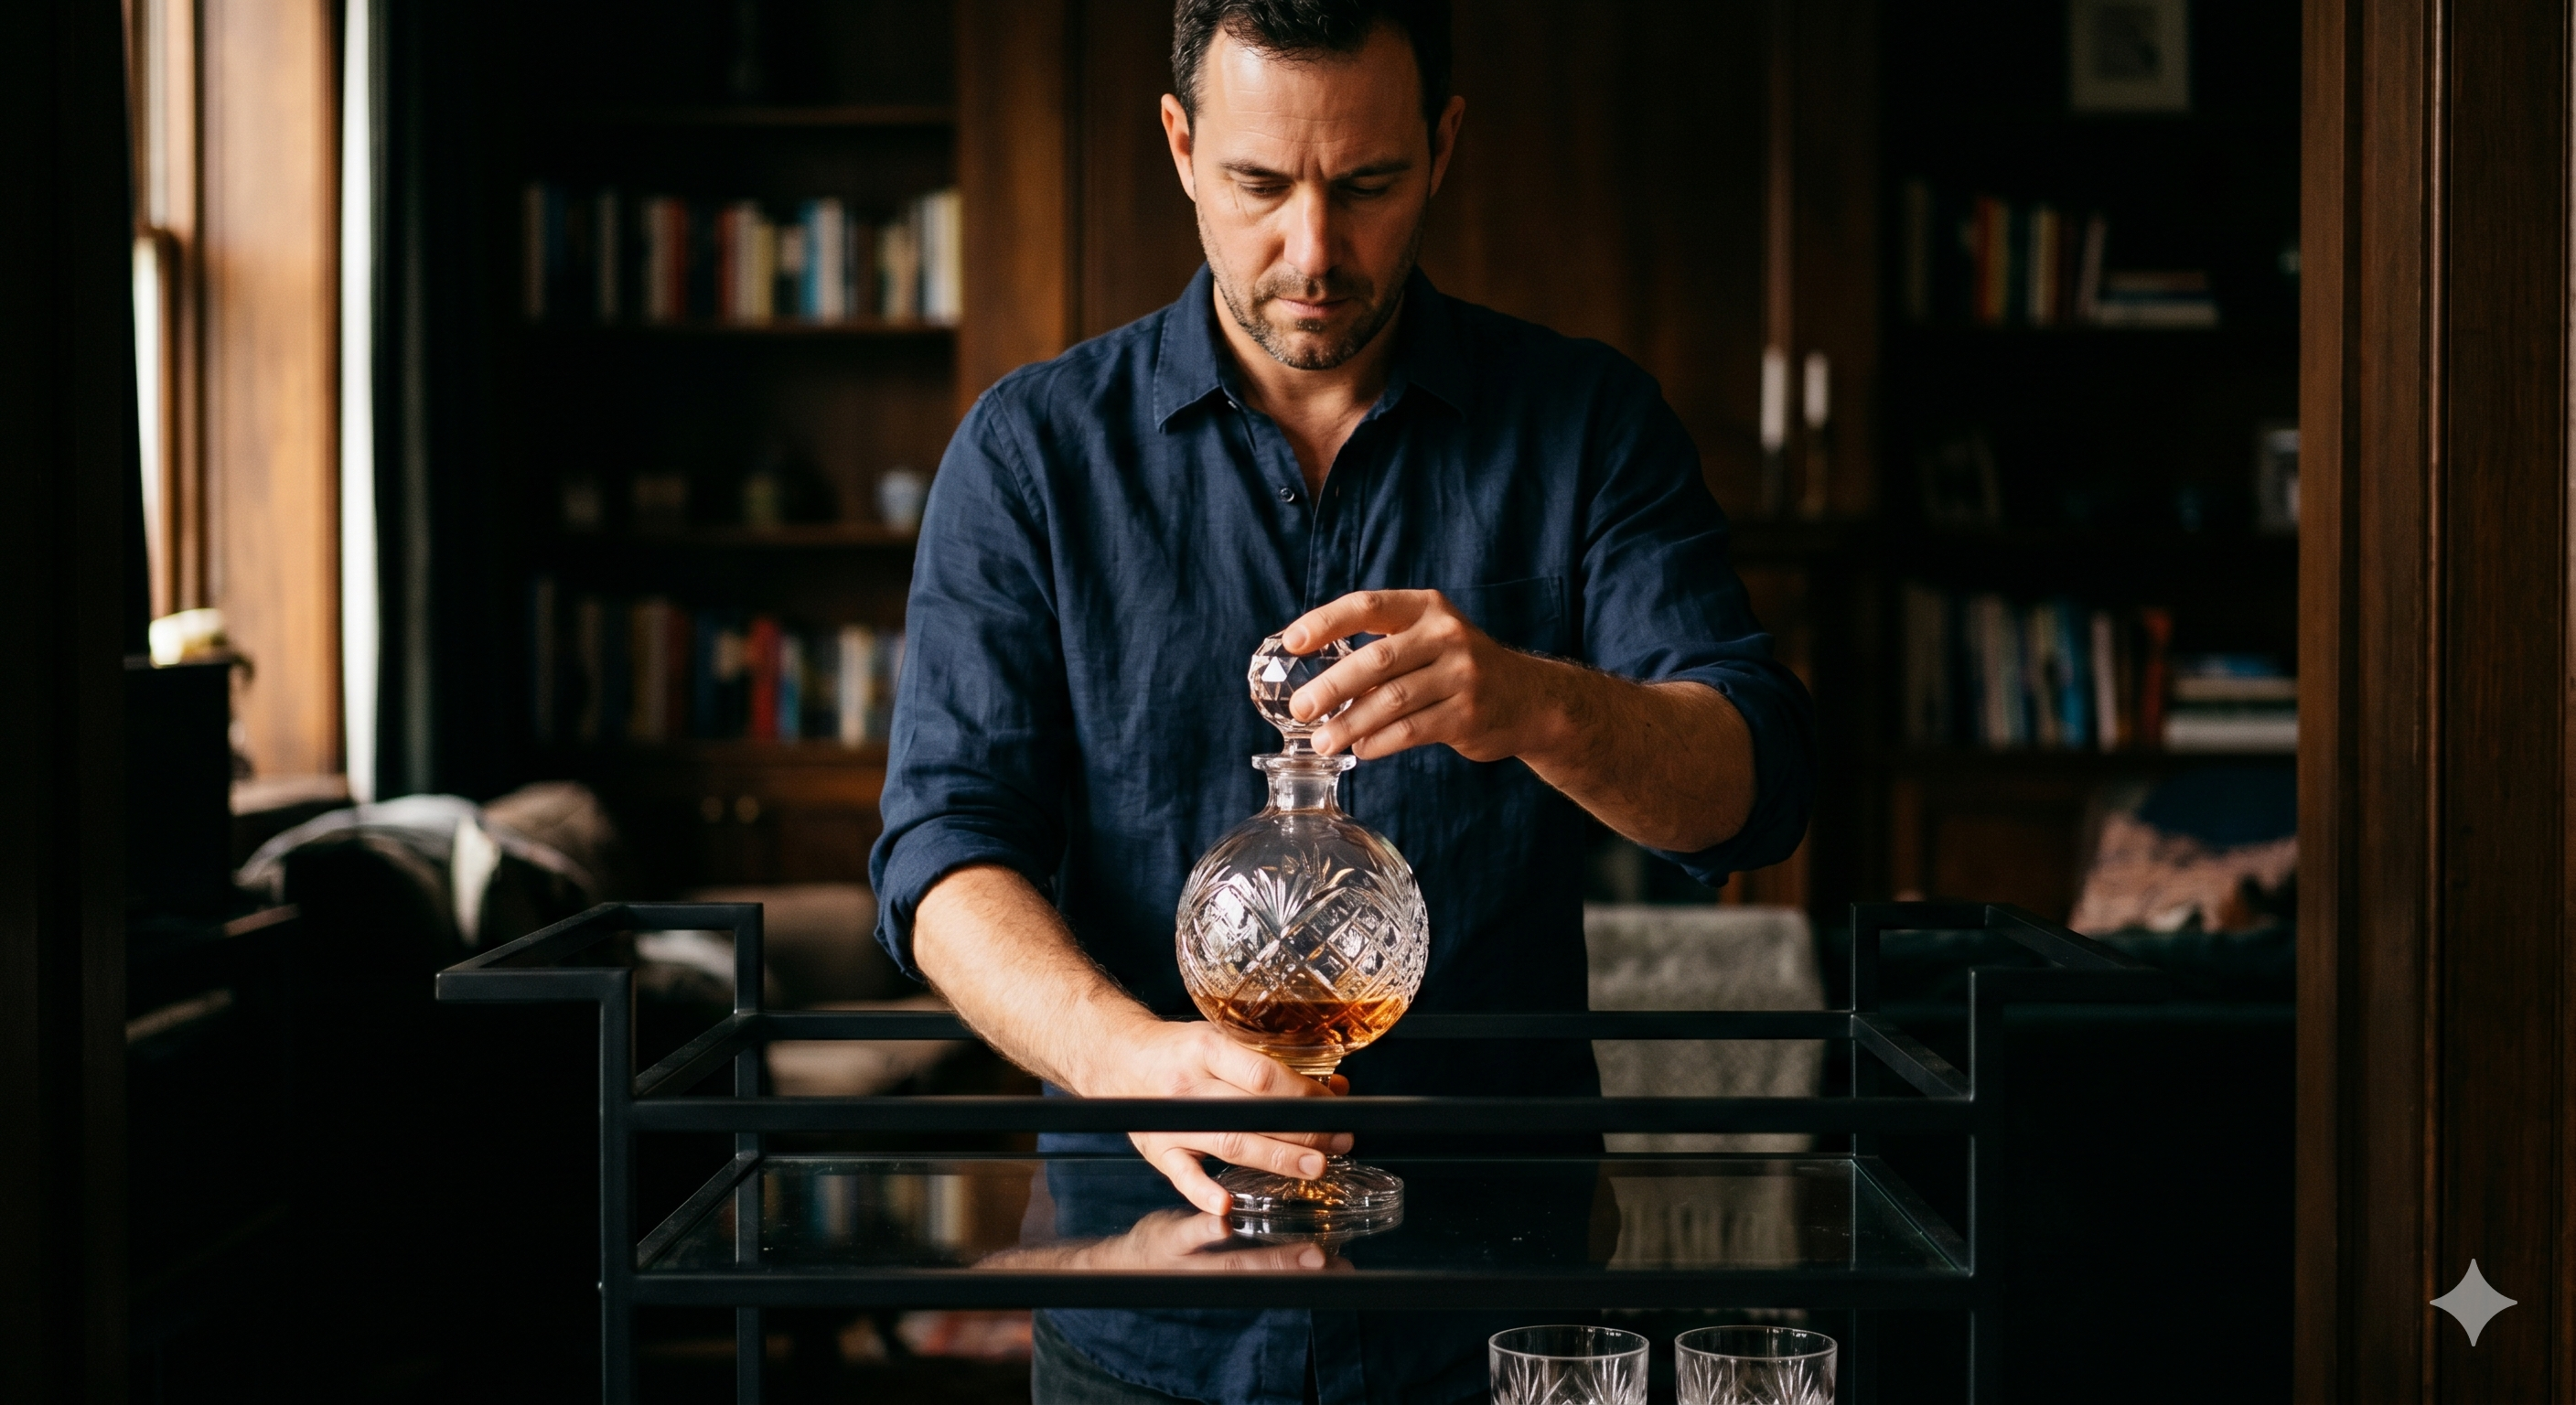
Step 2: Pre-pour and conceal before guests arrive. This is the host's job, done privately. Pour each whiskey into a numbered vessel — a decanter, a carafe, or even a thoroughly rinsed and labelled jug. Write a key on a folded card and seal it in an envelope. Keep that envelope out of the room until the reveal.
Step 3: Set one ounce per sample, per person. One fluid ounce (30ml) is enough to nose thoroughly, take two sips, assess the finish, and score. More than that per pour, across five whiskeys, tips the evening from tasting to drinking — and late scores become unreliable. Set out the glasses in numbered rows or use a small tasting flight board if you have one.
Step 4: Brief your guests on the evaluation format. Tell them what they're scoring and how. A three-minute explanation at the start produces dramatically more useful tasting notes than winging it. The section below covers exactly what to put on the sheet.
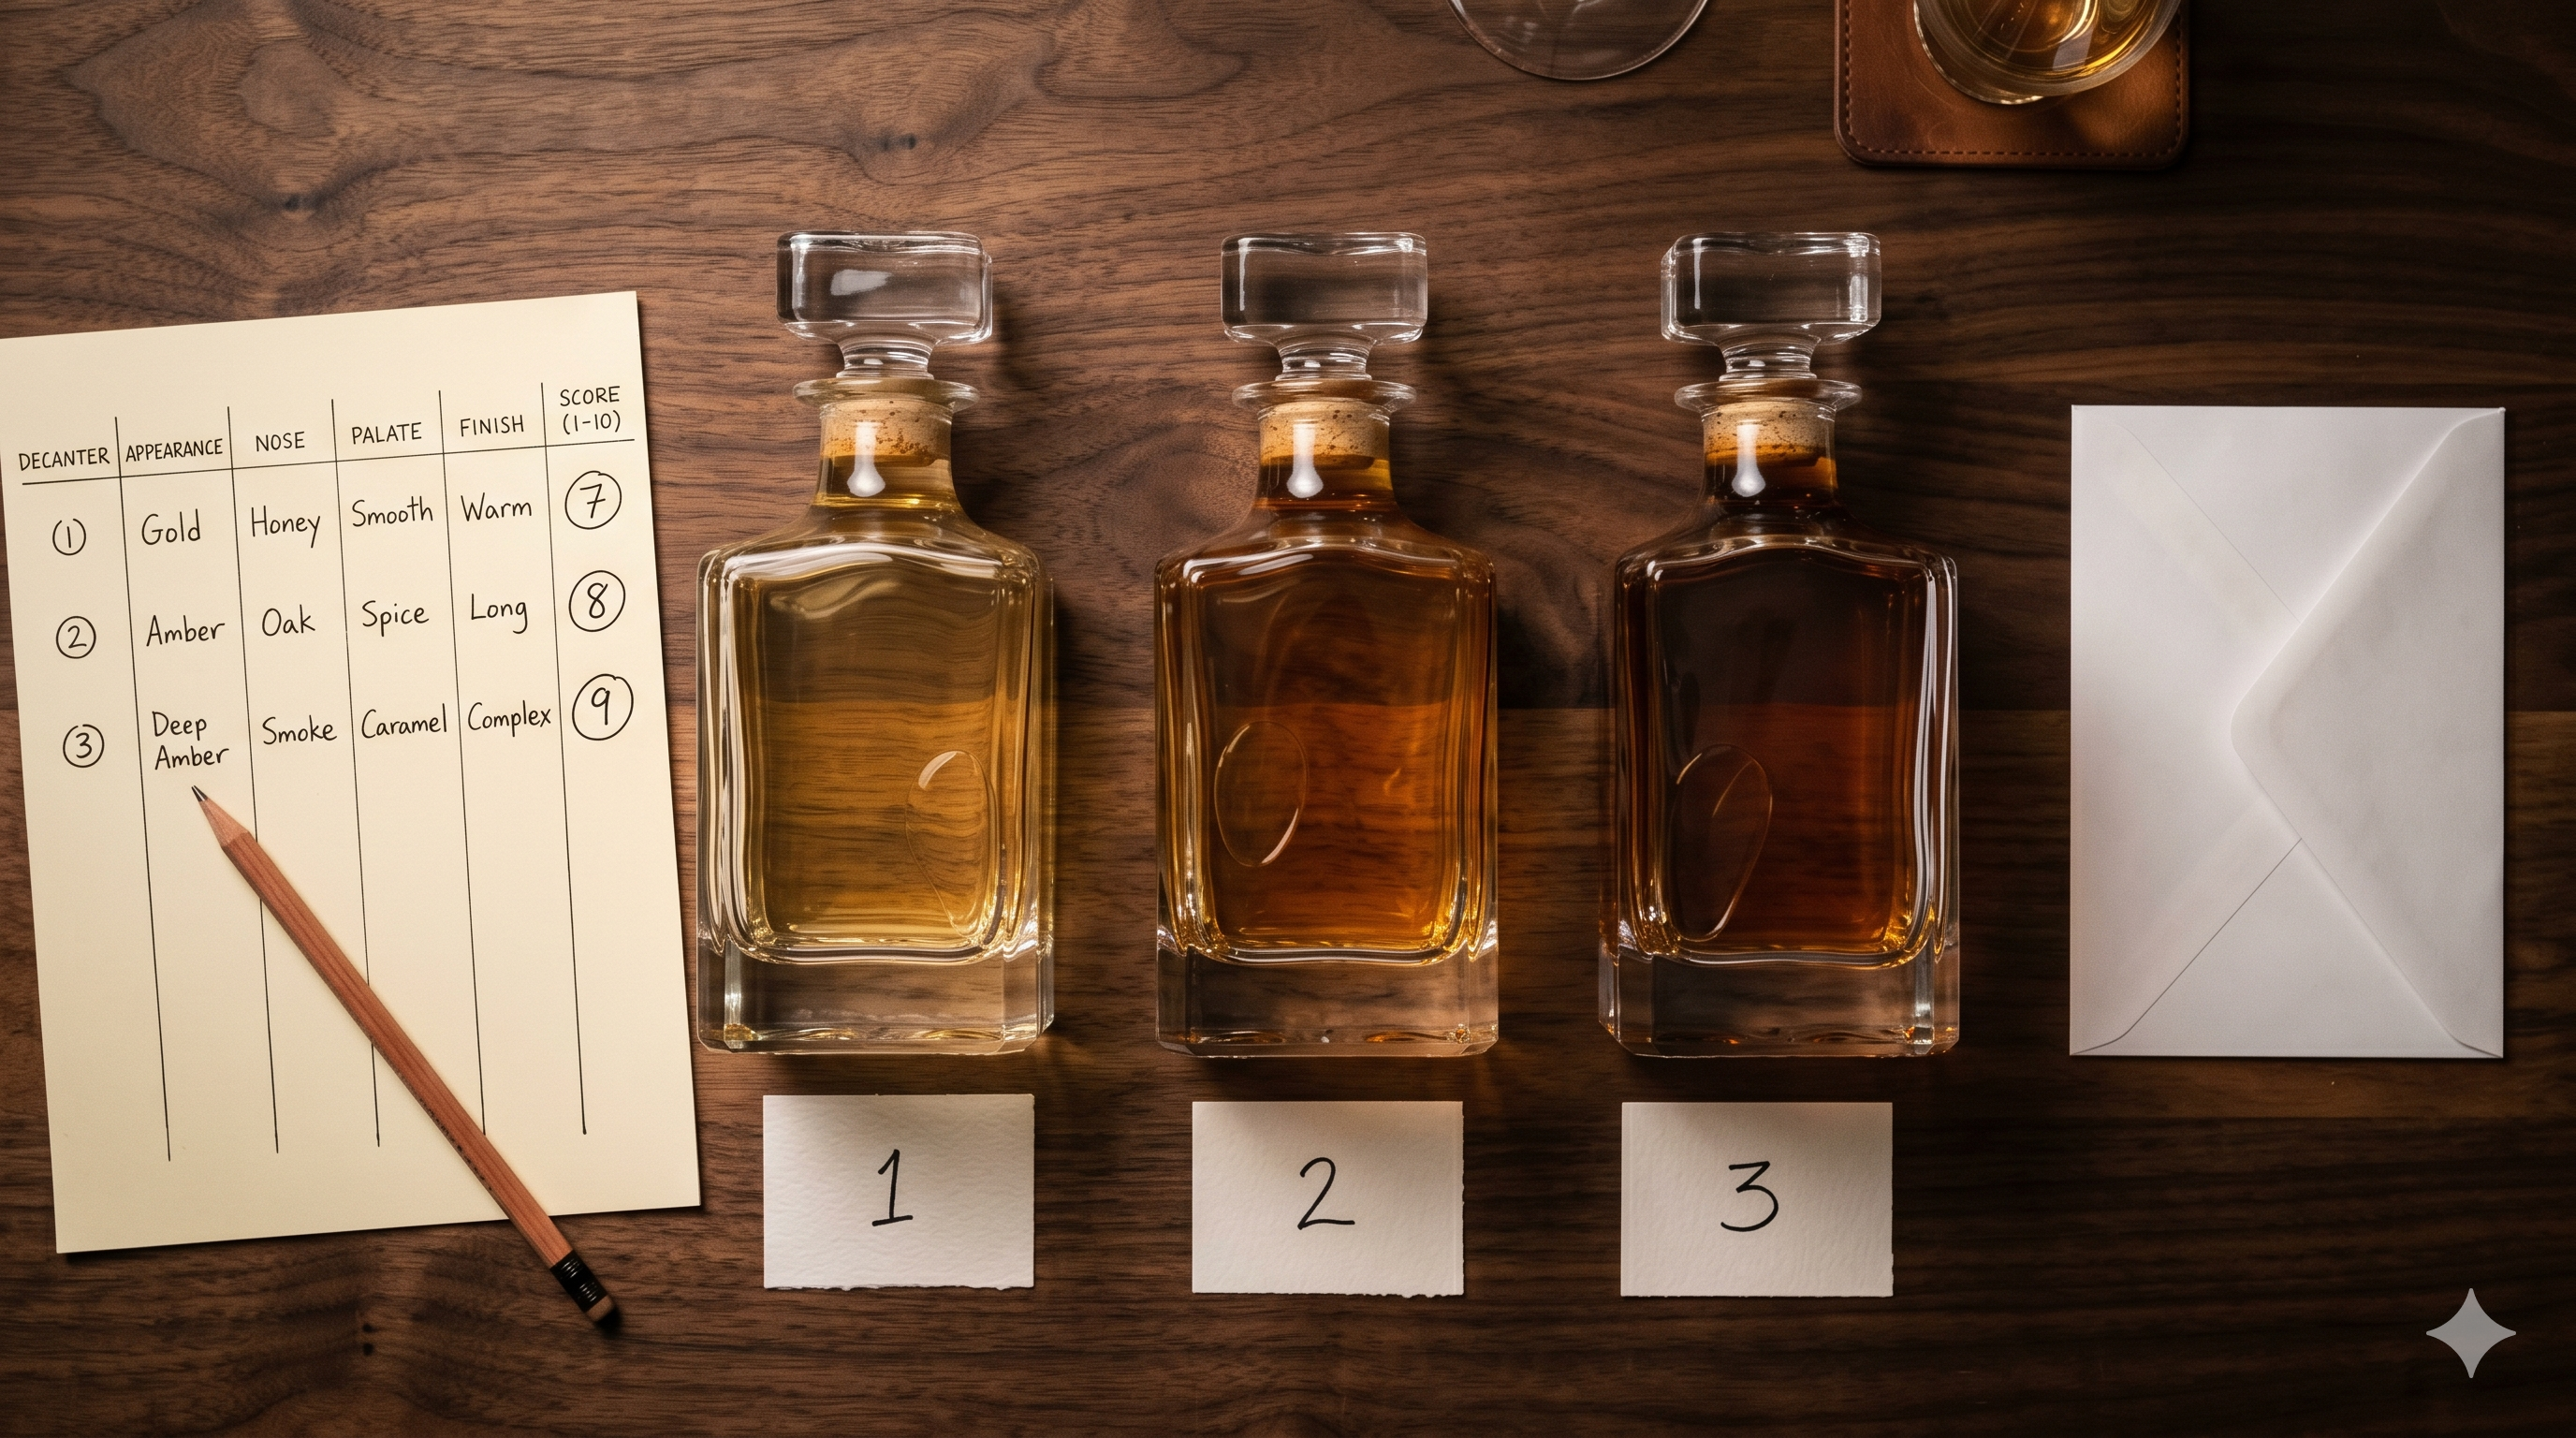
What to Put on a Whiskey Tasting Sheet?
A good whiskey tasting sheet captures four things: the nose, the palate, the finish, and an overall score. Keep it simple enough that guests don't spend more time writing than tasting.
Nose (aroma before sipping) Ask guests to nose the glass twice — once immediately after pouring, once after thirty seconds of rest. The first nose catches the high-volatility compounds; the second reveals the base character. Prompts that work: What's the first thing you smell? Fruity, spicy, smoky, nutty, sweet, floral? No wrong answers here. The goal is getting impressions down before the palate clouds them.
Palate (the taste) A small sip, rolled across the tongue for five to eight seconds before swallowing. Front-palate notes tend to be the first impression — sweetness, heat, sharpness. Mid-palate is where complexity develops. Back palate is where woodiness, smoke, and darker notes emerge. Guests don't need to identify all three zones; asking "what do you taste?" and "how heavy or light does it feel?" is enough for a home tasting.
Finish (what lingers after swallowing) The finish is measured in two ways: duration (short, medium, long) and character (what flavor stays?). A long finish with warming spice is generally considered a quality marker. A short, thin finish on what tasted complex on the palate is often a sign of lighter-bodied or younger whiskey.
Overall score (1–10) One number, gut instinct, assigned after reviewing all three components. Guests should score before they see anyone else's sheet — social scoring is one of the silent biases that blind tastings are supposed to eliminate.
The reveal Open the envelope. Read the numbers in order. The moment guests discover which bottle they scored highest — especially when it contradicts what they expected to prefer — is the reason people do this. It's rarely what anyone predicted.
Does the Glass Matter for a Blind Tasting?
Yes, meaningfully so — but not for the reasons most discussions focus on.
The standard recommendation for whiskey evaluation is a Glencairn glass or a tulip-shaped tasting glass. The narrow opening concentrates aromatic compounds toward the nose, making the nosing step more productive. A wide tumbler disperses the aroma before it reaches the nostrils, which makes nose evaluation harder and skews the first-impression score. For a blind tasting specifically, using the same glass style for every pour matters more than which style you choose — consistency between samples is the point.
What glass you should not use: anything plastic, anything recently washed with heavy soap residue, anything with a strong existing smell. These introduce variables that have nothing to do with the whiskey.
What You'll Actually Learn From a Blind Tasting?
The practical outcome most people report is a recalibrated sense of what they actually prefer versus what they've been told to prefer. Price is a weaker predictor of personal enjoyment than almost anyone expects going in. Style — bourbon vs rye vs Scotch, peated vs unpeated, young vs heavily aged — is a far stronger predictor. People discover they have genuine opinions once the label stops doing their thinking for them.

The social outcome is harder to quantify but consistently reported: it's one of the more genuinely engaging things a group of people can do with whiskey. The disagreements are real, the surprises land, and the conversation that follows the reveal tends to run long.
The practical knowledge that develops over multiple blind tastings — recognising grain-forward vs malt-forward character, identifying peat level, reading age and wood influence in a glass — is the foundation of what it means to actually know whiskey rather than simply consume it.
Hosting It Well: Three Details That Make the Difference
Timing between pours. Give guests two to three minutes per whiskey. Rushing produces shallow notes and inflated early scores. Running too long between pours dulls the palate. Two and a half minutes is the working benchmark.
Water on the table, always. Plain still water — not sparkling — resets the palate between samples more effectively than crackers alone. A small sip and a thirty-second wait before the next pour keeps evaluations clean.
A designated host who doesn't score. Someone needs to manage the pour order, keep track of the reveal envelope, and watch for anyone drifting off-format. That person's experience is better spent facilitating than scoring — and they'll often pick up on things that scoring guests miss.
Setting Up Your Next Tasting
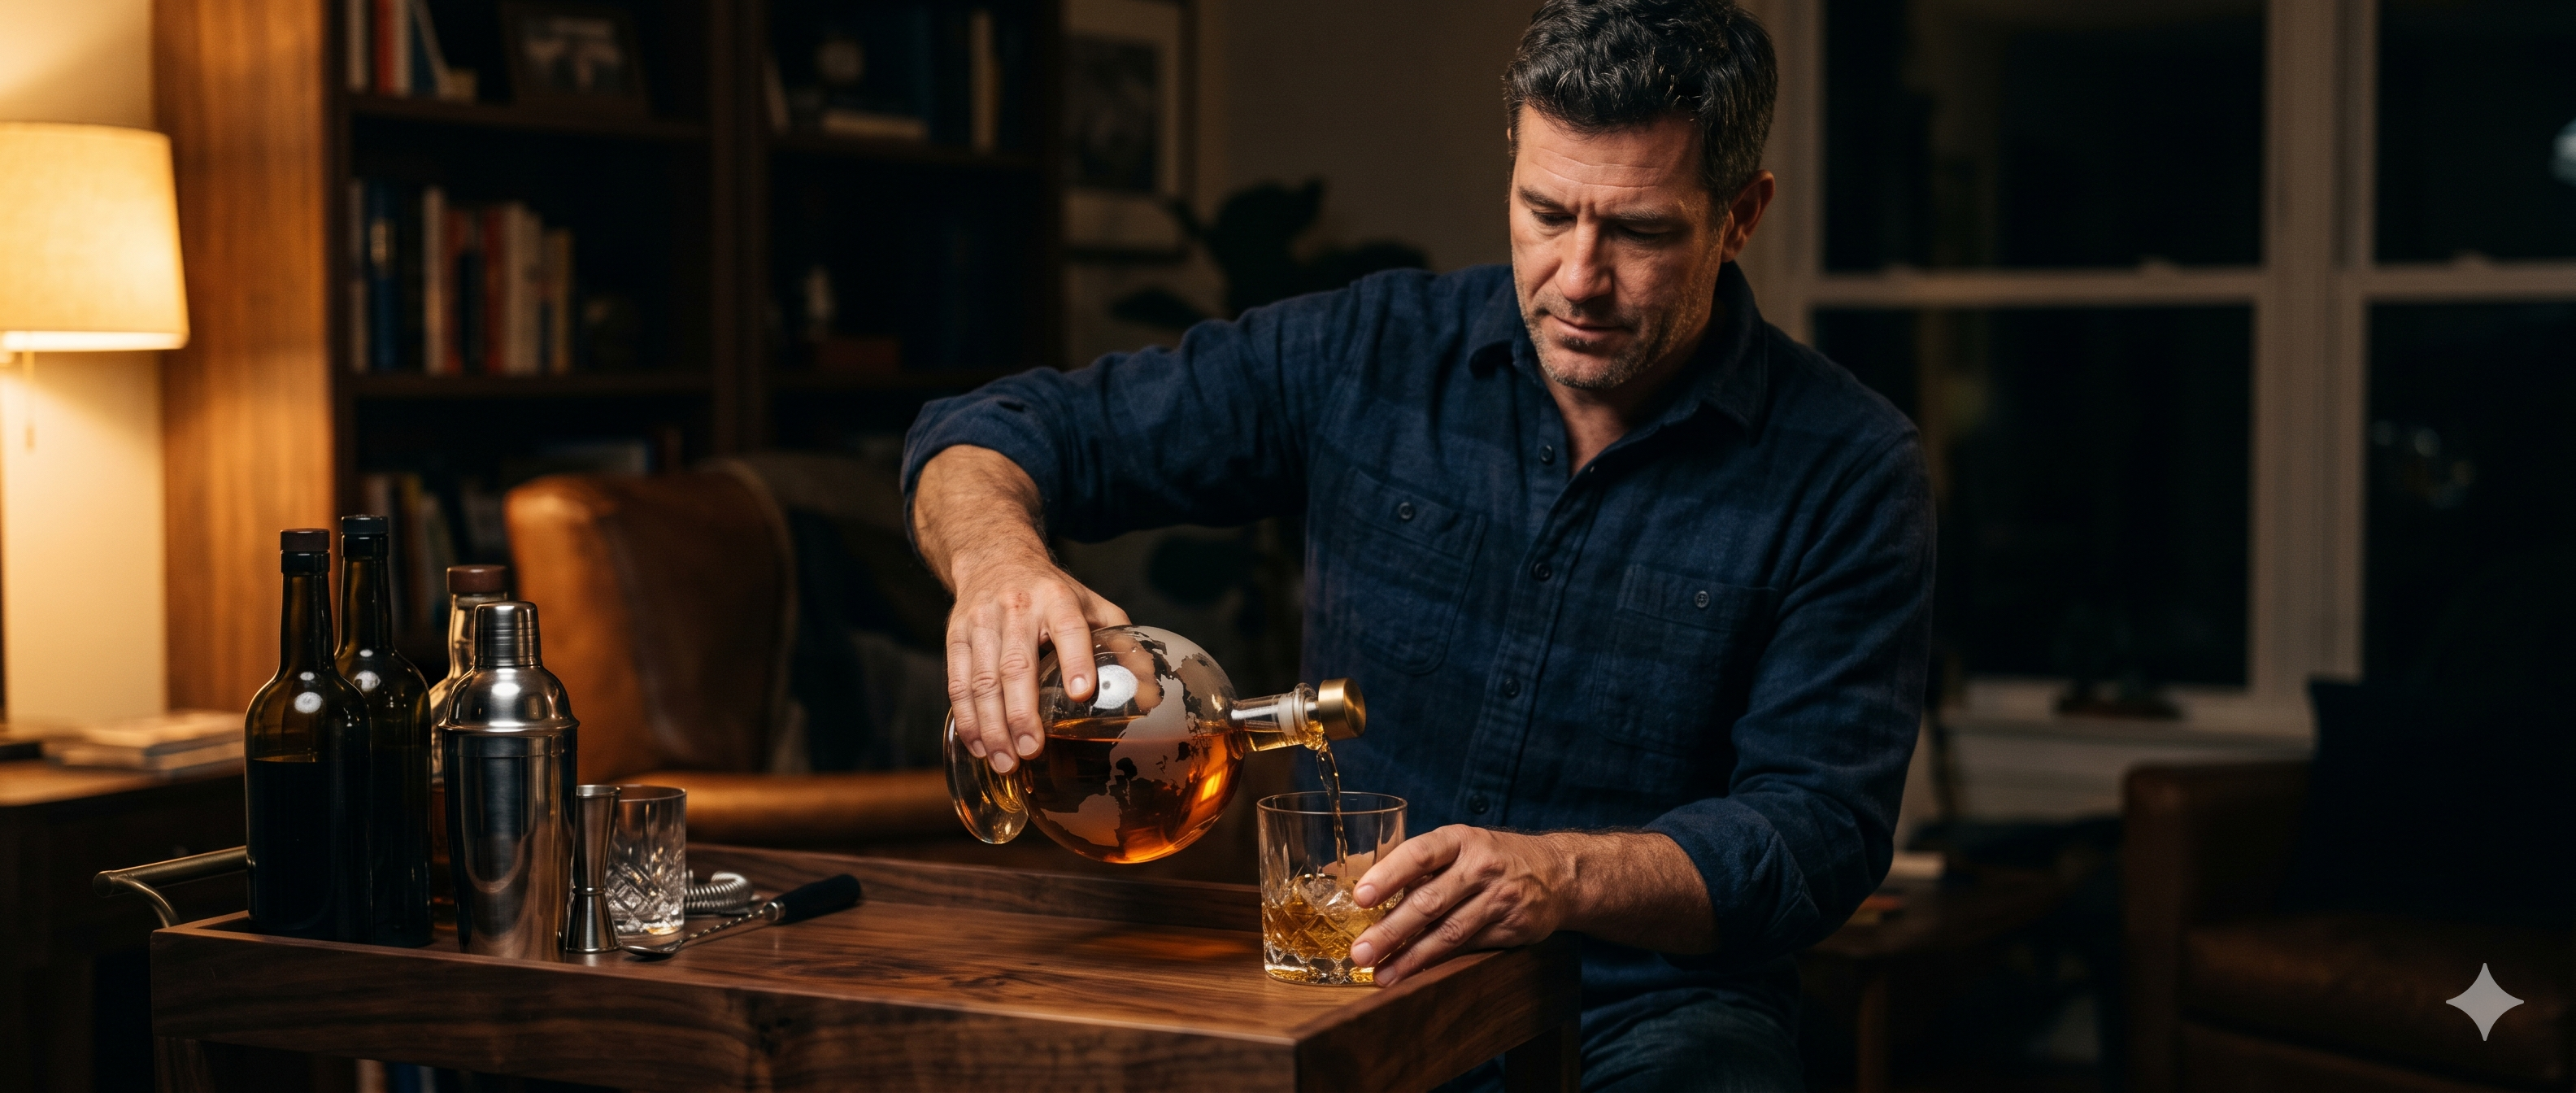
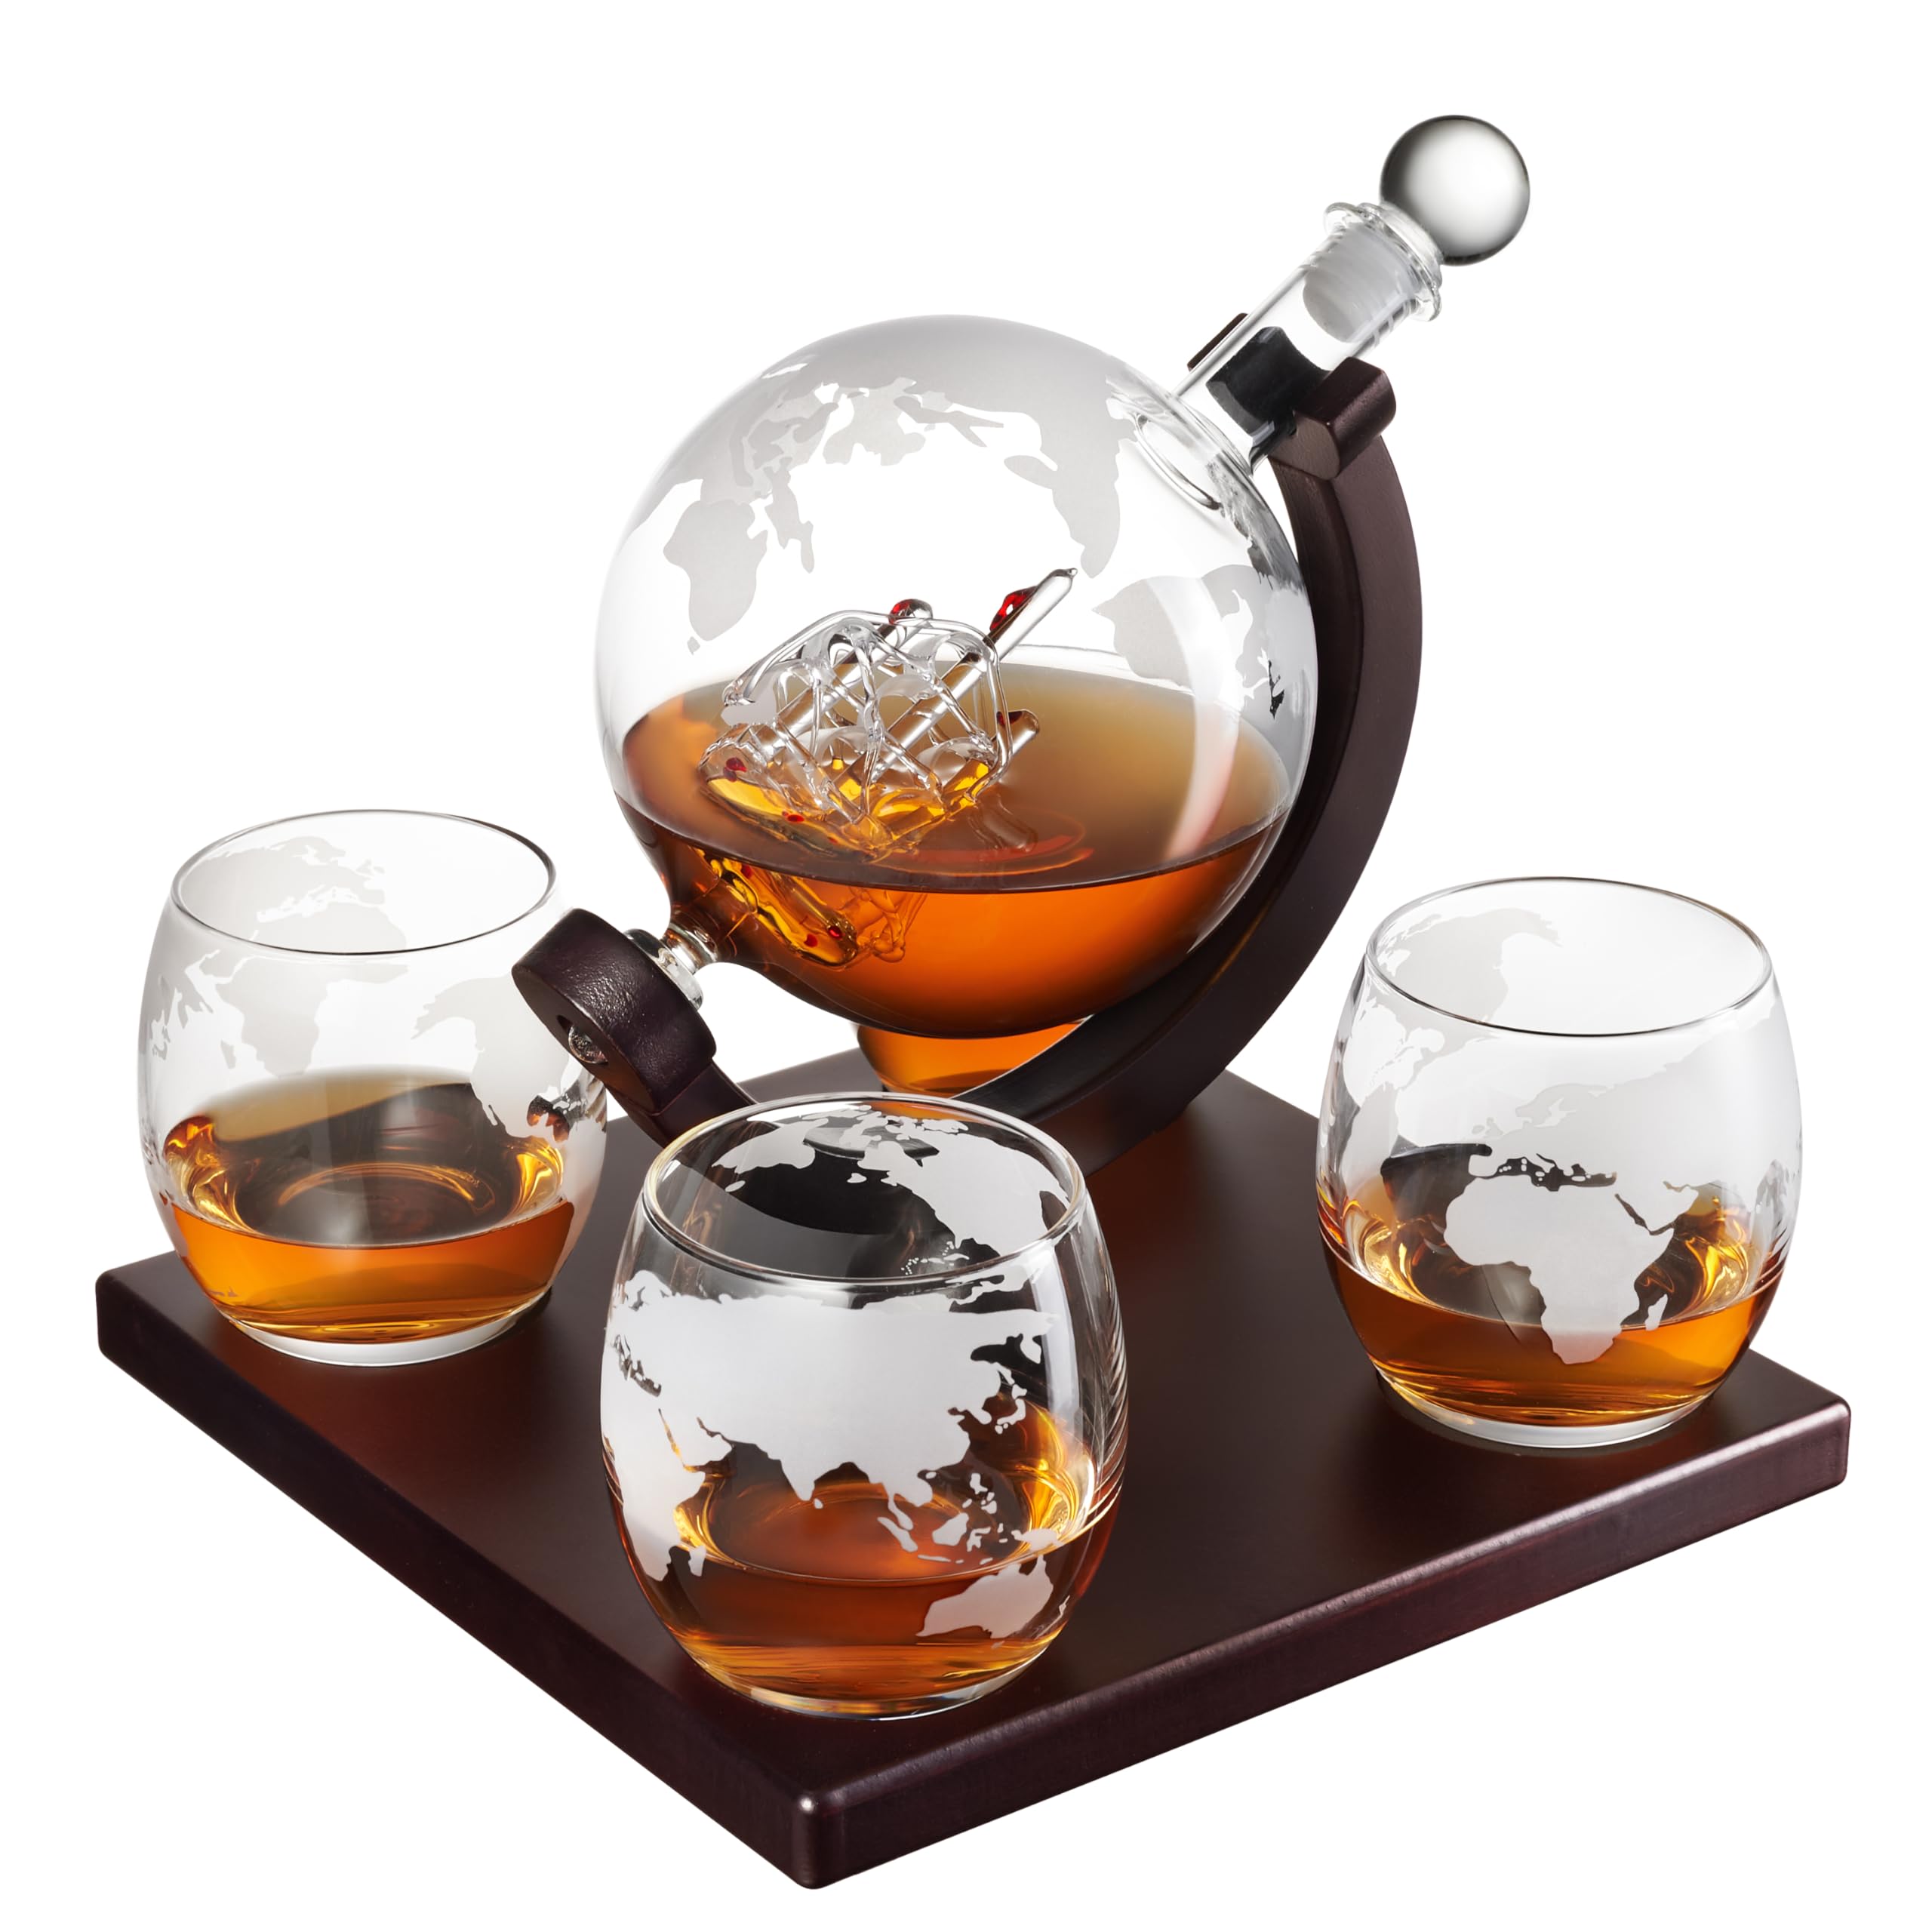
Once you've run one blind tasting, the logical next step is building a setup that makes them repeatable. A set of numbered lead-free decanters — even two or three — means pre-pouring takes five minutes and the reveal stays clean every time. A dedicated tasting flight board keeps the numbered samples in order and doubles as a bar-cart display between events.
Explore the Hydro Gizmos luxury decanter collection for lead-free sets built for exactly this kind of use — heavy enough to feel serious, designed for the bar cart, and available in several formats suited to a tasting setup. The accessories range includes complementary pieces worth considering alongside a first decanter set.
Have questions about which decanter works best for a blind tasting format? Visit the FAQ page or get in touch directly.
Share:
10 Whiskey Gifts for Men That Feel Thoughtful, Not Generic
How to Chill a Whiskey Glass in 60 Seconds (Without Ruining the Pour)