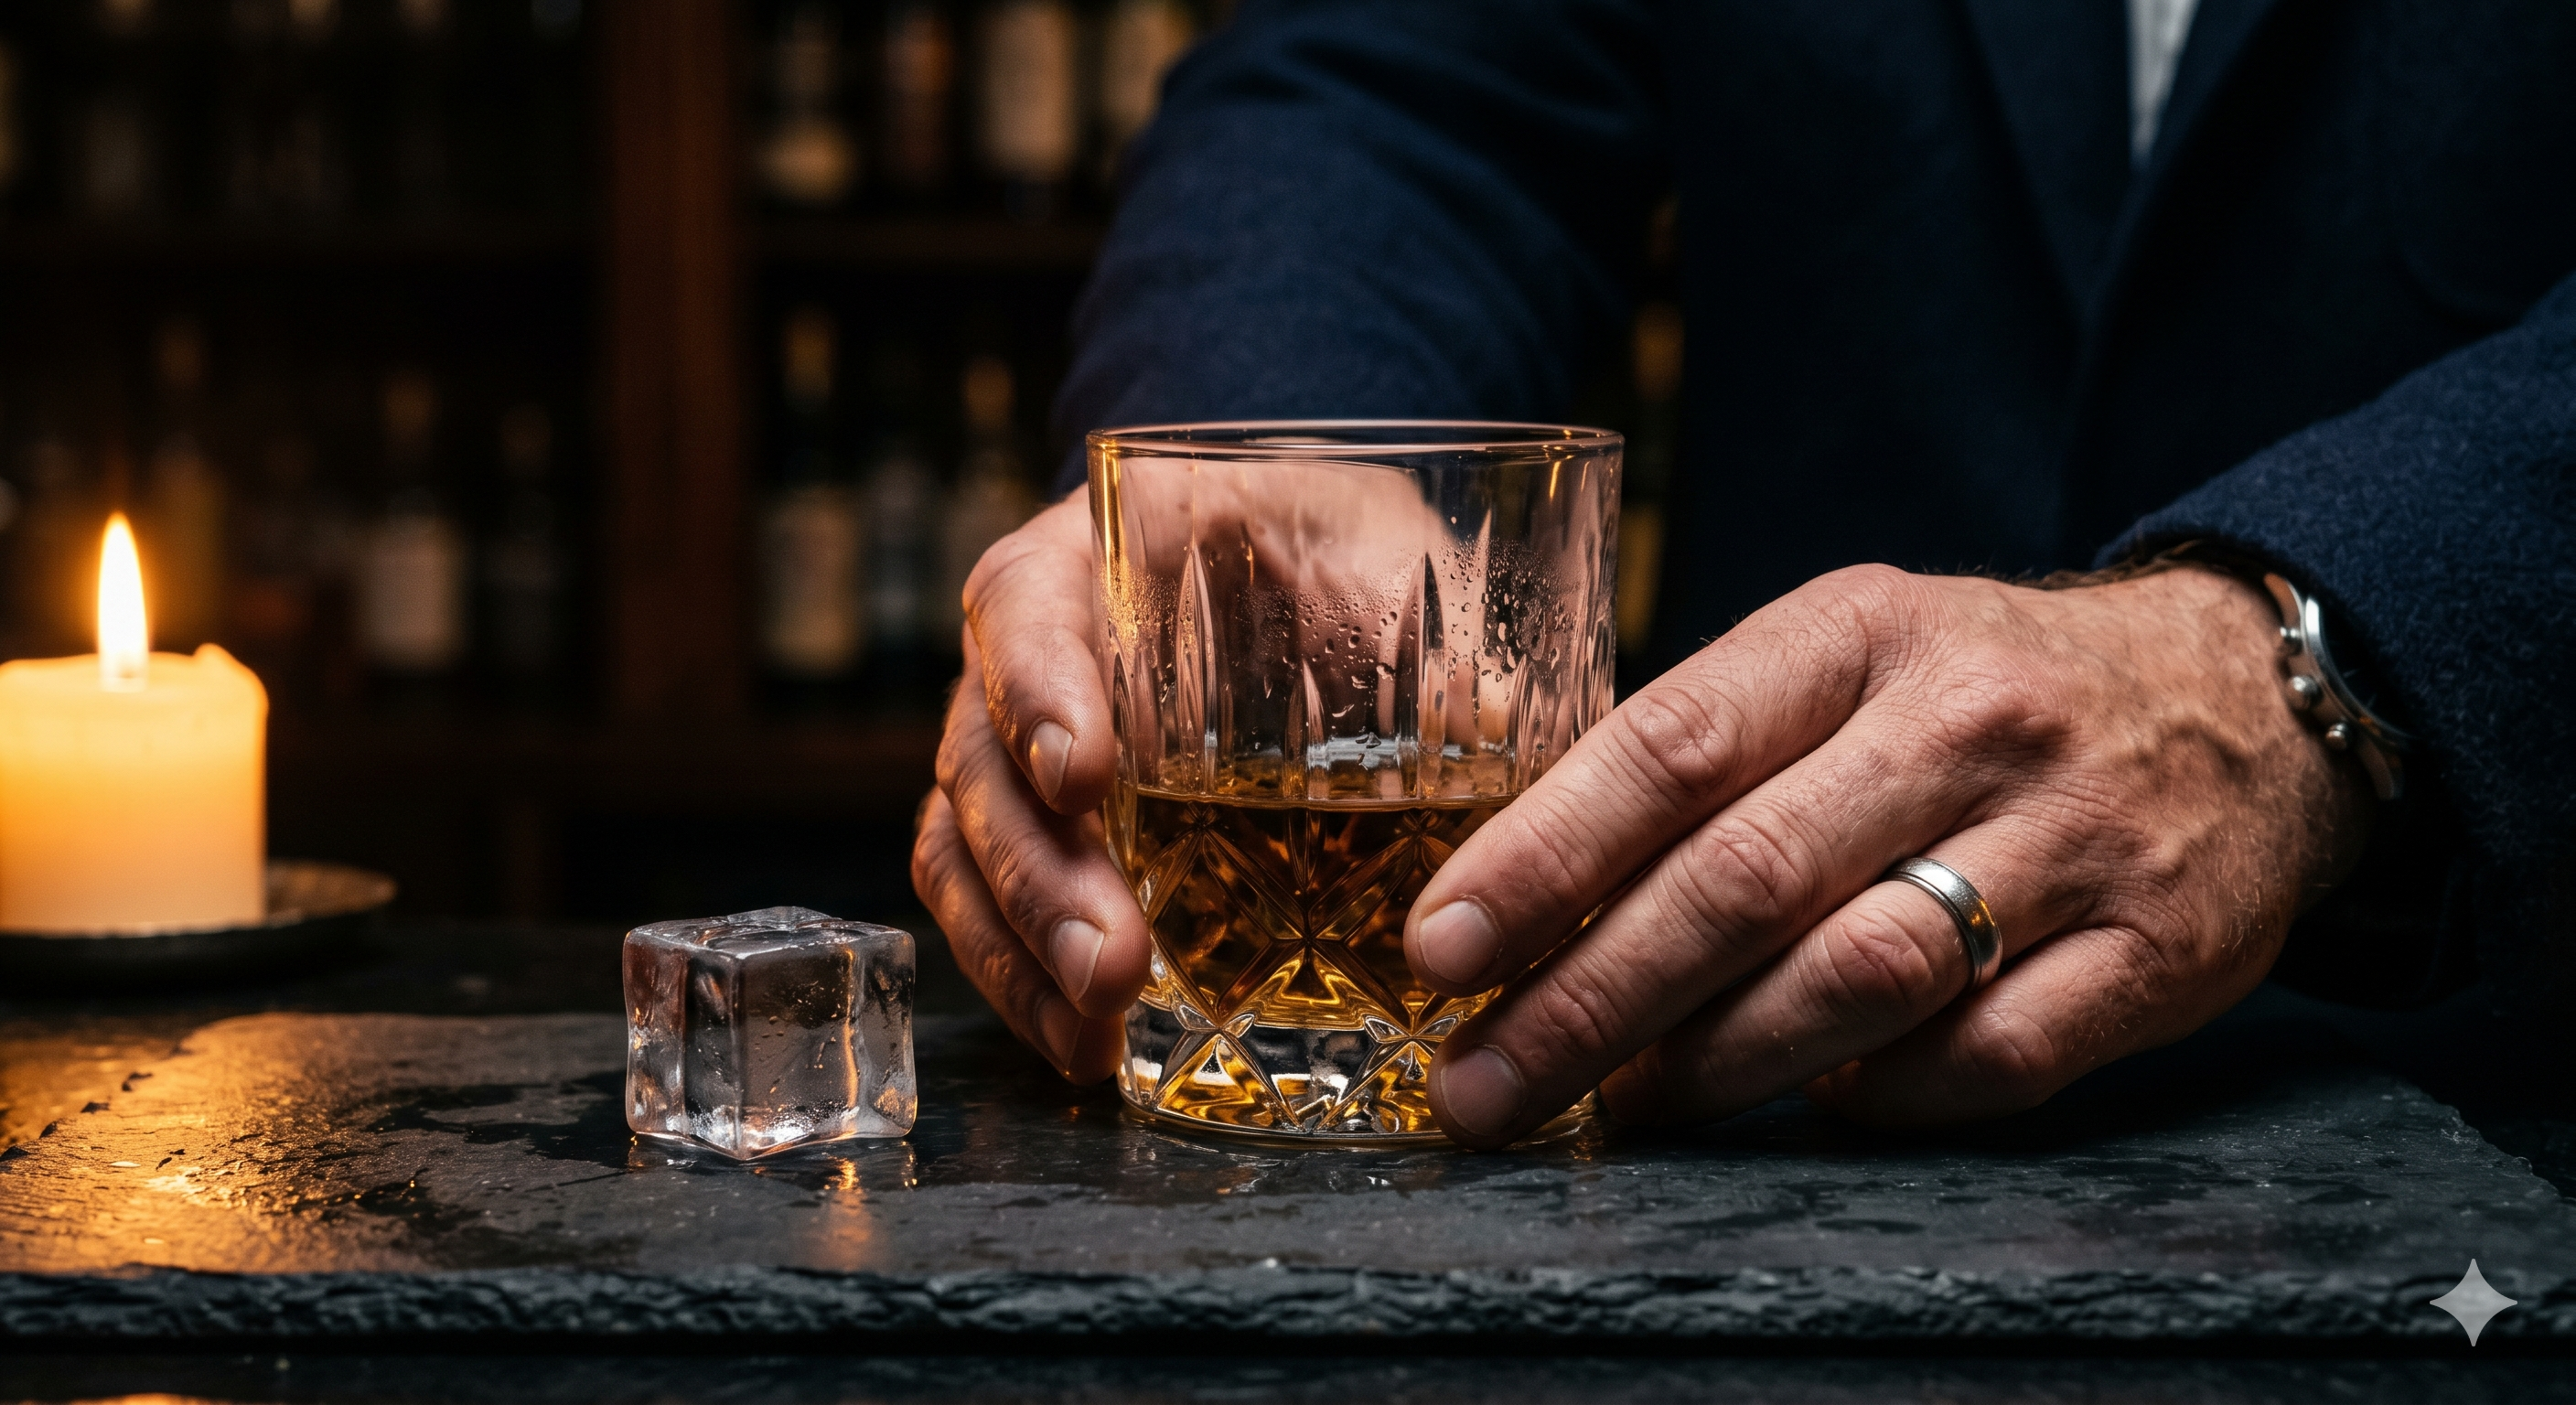
Most whiskey drinkers have made the same mistake: they drop ice straight into a room-temperature glass, watch the cubes shrink fast, and end up with a diluted, watery pour by the halfway mark. The problem isn't the ice. It's the glass.
A warm glass forces ice to work overtime — melting faster to compensate for the ambient heat trapped in the glass walls. Pre-chill the glass first, and everything changes: your ice lasts longer, your whiskey stays colder, and the flavour holds through the final sip.
Here's exactly how to do it in under 60 seconds, what to use, and why the glass you choose makes more difference than the ice.
Place your whiskey glass in the freezer for 45–60 seconds, or fill it with ice water for 30 seconds and discard before pouring. A chilled glass reduces early ice melt by slowing the thermal transfer between drink and glass wall — meaning less dilution, longer cold, and a cleaner pour. Large-format ice (2-inch cubes or spheres) amplifies the effect: more mass, slower melt, more control.
Why a warm glass ruins cold whiskey?
Whiskey served in a room-temperature glass doesn't stay cold — it warms up from the outside in. The glass acts as a conductor, transferring ambient heat directly into the liquid. If you add a single small ice cube to a 70°F glass, the cube is doing two jobs at once: chilling the whiskey and absorbing heat from the glass itself.
The result is a rapid initial melt that dilutes the first third of your drink before you've had a chance to taste it properly. Serious drinkers in enthusiast forums describe this as "watery too fast" — the ice that's supposed to be a measured, slow chill becomes an uncontrolled one.
Pre-chilling the glass removes one of those two thermal loads. The ice only has to chill the whiskey, not compensate for the glass. That single change extends the life of your ice significantly and keeps the flavour profile intact through the drink.
How to chill a whiskey glass: 3 methods that actually work?
Method 1: The freezer chill (fastest, most reliable)
Place your clean glass in the freezer. Leave it for 45–60 seconds — not the five to ten minutes most people assume is needed. Glass chills quickly. After 60 seconds, the inner surface is cold enough to meaningfully reduce ice melt on first contact. Longer than two minutes and the glass may develop surface condensation that dilutes the nose of your pour before you've started.
Method 2: The ice water rinse (no freezer required)
Fill the glass completely with ice and cold water. Let it sit for 30 seconds. Swirl once and discard the water and ice. Pour immediately. The method works because cold water conducts heat out of the glass wall faster than air alone — and 30 seconds is enough to bring the interior surface temperature down by 10–15°F. This is the method used in professional bar service, where glasses aren't pre-frozen but the result needs to be consistent.
Method 3: Ice-on-ice staging (for the deliberate pour)
Place two large ice cubes in the glass before you pour. Let them sit for 20 seconds. Swirl gently to coat the glass walls in cold. Then pour your whiskey directly over the same ice. The pre-chill effect is modest compared to methods 1 and 2, but it's practical when you don't have time to plan ahead — and the large ice format makes a meaningful difference here (more on that below).

Does the size of the ice actually matter?
Yes — and the difference is measurable, not just aesthetic.
Standard ice cubes from a home freezer tray average around ¾ inch across. A 2-inch cube has roughly 7x the volume of a standard cube and around 4x the surface area. More volume means more cold mass. Less surface area relative to volume means a slower melt rate.
A small cube in a warm whiskey glass can lose 20–30% of its mass in the first two minutes. A 2-inch cube in a pre-chilled glass loses a fraction of that in the same window.
For whiskey specifically — where dilution is a matter of taste but too much, too fast is universally considered a problem — that difference in melt rate is the difference between a controlled drink and a watered one.
The Hydro Gizmos large ice cube trays produce 2-inch cubes with silicone easy-release molds — designed specifically for whiskey glasses and decanter sets. Unlike standard plastic trays, the lid seals out freezer odours that can transfer to the ice and affect flavour.
Which whiskey glass is best for chilling?
Not all glasses respond the same way to pre-chilling — or hold temperature the same way after.
Tumbler (rocks glass): The standard choice for whiskey on ice. Thick base and walls mean it holds a chill well once pre-cooled. Responds quickly to the freezer method. Best for: bold bourbons, blended Scotch, anything you're drinking on large ice.
Glencairn: Designed for nosing, not chilling. The narrow opening traps aroma but also traps warmth. Use the ice water rinse method if you want a cold Glencairn — the freezer method can cause thermal shock in thinner crystal. Best for: single malts you want slightly cool but not ice-cold.
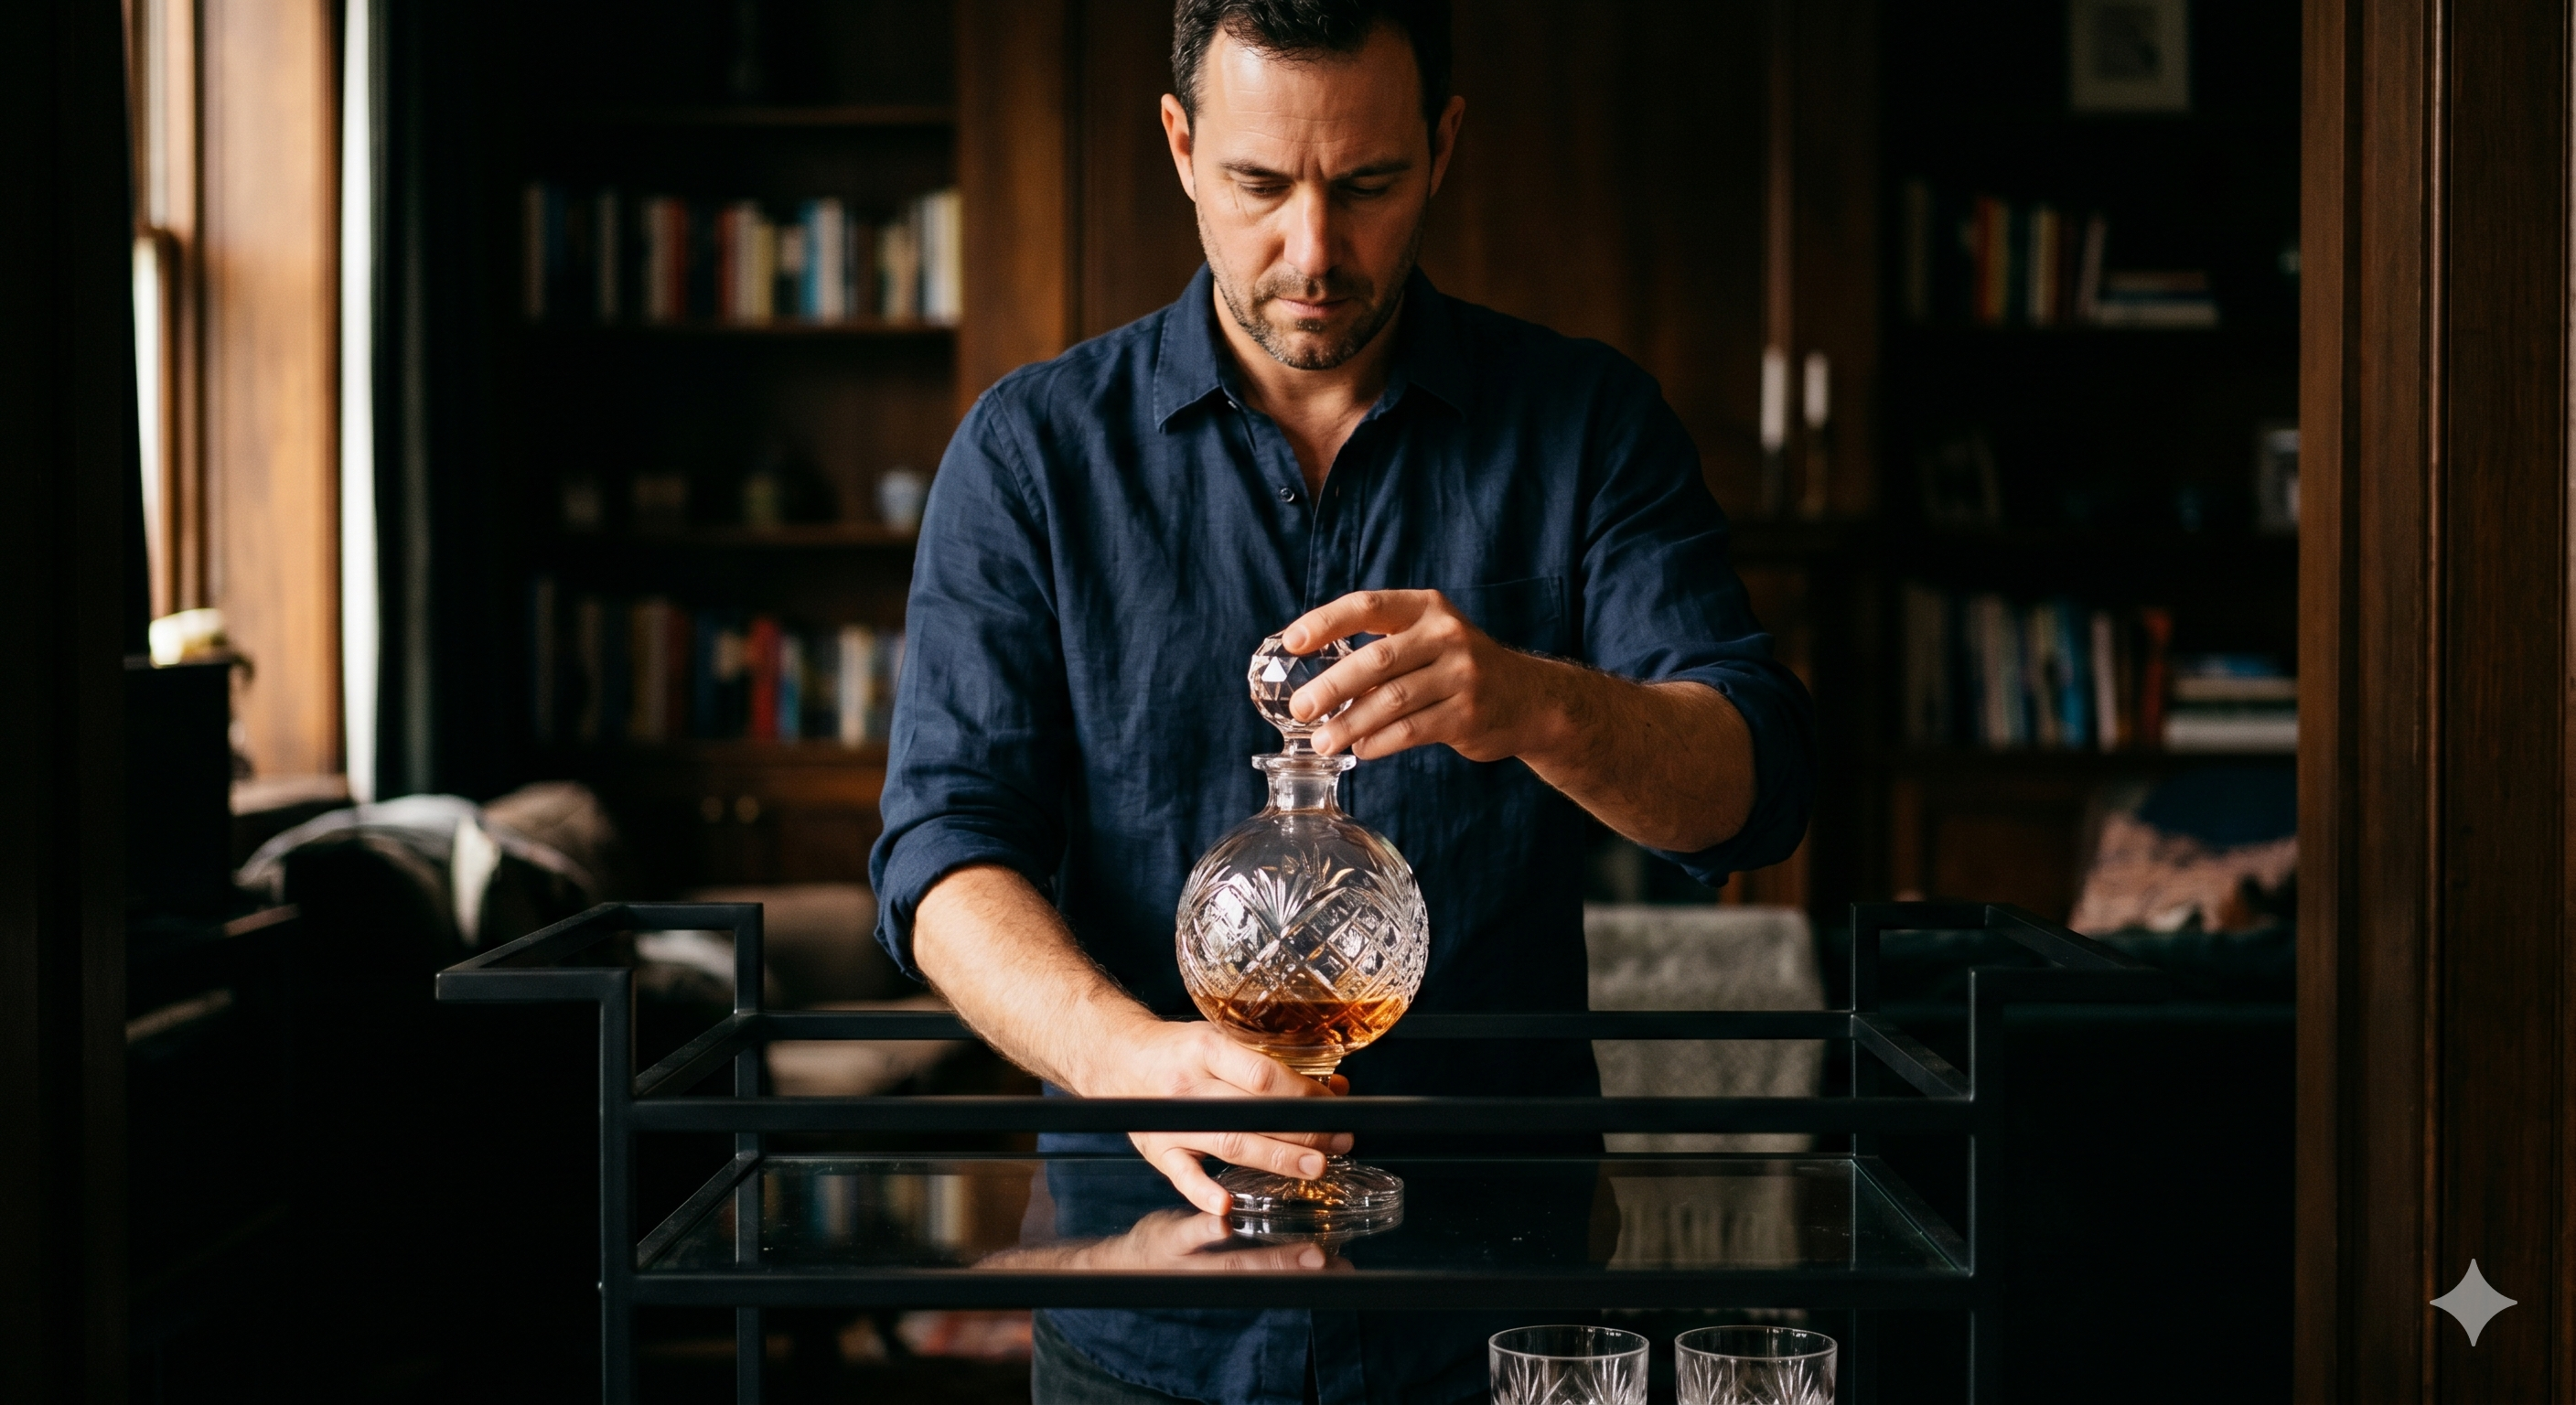
Crystal rocks glass (wide-mouthed): Premium crystal conducts cold faster than regular glass but also loses it faster. Pre-chill is more important here, not less. If you're using a crystal decanter set with matched glasses, pre-chilling the glassware is what makes the set perform the way it should. Best for: the full hosting or gifting experience, where presentation and temperature are both part of the ritual.
Avoid: Thin-walled everyday glasses. They chill fast but lose temperature faster still, and the thermal cycling — heating and cooling — can stress the glass over time.
Should whiskey be chilled at all?
The short answer: it depends on the whiskey and how you want to experience it.
Neat at room temperature is the preference of most serious tasters. Warming the glass in your palms for 30 seconds before nosing is a documented enthusiast ritual — heat opens up volatile compounds and reveals notes that are closed at low temperatures. At the high end of single malts (12 years and up), chill filtration is a live debate: whiskey that has been non-chill filtered may go slightly hazy when cold, but many distillers and drinkers argue the flavour compounds retained are worth the cosmetic trade-off.
For everyday bourbon, blended Scotch, and anything you're drinking as a relaxed pour rather than a tasting exercise, a light chill is widely considered to improve the experience: it softens the alcohol heat on the palate, makes the drink more refreshing, and extends the enjoyment across a longer sitting.
The key is control. A pre-chilled glass with large-format ice gives you a slow, predictable chill that you can calibrate. Small ice in a warm glass gives you fast dilution and a temperature spike you can't manage. One is a pour. The other is a gamble.
The ritual of the pre-chill: why it changes more than the temperature
There's a reason bartenders pre-chill glasses before service, even in casual settings. The act of preparation signals intention — to the drinker, and to anyone watching. A glass that arrives cold says: this was thought about.

Whiskey enthusiasts in online communities consistently describe the experience of a properly served whiskey as something that "slows time" — the deliberate pour, the right glass, the right temperature all working together to make the moment feel worth the drink. Consumer psychology research consistently finds that presentation influences perceived quality: the same bourbon tastes different from a chilled crystal tumbler than from a room-temperature plastic cup, even when the whiskey is identical.
The pre-chill is the simplest, fastest way to upgrade any pour. It costs 60 seconds. It asks for nothing except the intention to do it.
If the glass is part of a premium decanter set — heavy crystal, matched tumblers, clean pour — the pre-chill is the step that makes the investment perform. The decanter holds the whiskey. The ritual makes it worth pouring.
4 mistakes that undo a good chill
1. Chilling for too long. More than two minutes in the freezer and the glass develops condensation that drips into your pour and dilutes the nose immediately. Sixty seconds is enough.
2. Using small, thin ice in a warm glass. This is the root cause of watery whiskey. Pre-chill first, then add large-format ice. The sequence matters.
3. Skipping the chill on crystal. Thin crystal heats up faster than it looks like it should. If you have quality glassware, the pre-chill matters more, not less.
4. Pouring too slowly over ice. A hesitant pour — dribbling whiskey over ice rather than a confident, measured pour — extends the contact time between warm liquid and ice at the exact moment they meet, front-loading melt. Pour with confidence, directly over the centre of the ice.
What Hydro Gizmos customers do differently?
The most commonly reported shift among customers who move to large-format ice cubes: they stop adding a second round of ice. One 2-inch cube in a pre-chilled glass lasts through a full pour without turning the drink watery — which means the last third of the glass tastes as good as the first.
That's not a minor upgrade. For anyone who has ever pushed through the watery end of a drink out of obligation to the pour, it's the difference between a drink you finish and one you savor.
The set of 2 ice cube trays keeps two full batches of large cubes ready at any time — enough for a full evening or a hosting occasion. The single tray is the straightforward starting point.
Both are lead-free and designed to pair with the decanter sets — which means when you're setting a bar cart or preparing for guests, the ice, the glass, and the vessel are all working from the same philosophy: control over the pour, precision over accident.
Sixty seconds. That's the only gap between a whiskey that waters itself out and one that holds. The glass matters. The ice matters. The sequence matters. Get all three right and the drink you finish will taste like the one you poured.

Share:
How to Do a Blind Whiskey Tasting at Home? The Setup, the Sheet, and What You'll Learn
The Globe Whiskey Decanter Set: Every Question Answered Before You Buy